- Achievements
- Alpha Assailants
- Apostates and Apostate Masters
- Assailant and Assailant's Camp
- Bank
- Battle for Avalon
- Battle on the Isles
- Blacklist
- Buildings
- Cardinals
- Conquest of the Dominion
- Crafting
- Dominion
- Dominion Ruins
- Errands
- Eternal Stronghold
- Gold
- Hero
- Hero’s Profiles
- Hero’s Skills
- Inquisitors
- Items
- Jewels
- Kingdom
- Kingdoms War
- Kingdoms War: Rebellion
- Kingdoms War: Retribution
- Linking and restoring your account
- Lord information
- Lord's Palace
- Marches
- Materials
- Order Citadel
- Orders
- Orders War
- Player’s Town
- Power
- Quests
- Raids
- Rankings
- Resources
- Runes
- Seasons
- Studies
- Tournaments
- Townscapes
- Troops
- Update
- VIP status
Fighting Marauders
When entering a new hall, you may face a Marauder or their Leader. In this case, you will be automatically redirected to the battle window.
Opponents' stats
Marauders differ in terms of their level, strength, and type.
- An enemy's level is displayed near its name: the higher the value, the more difficult it is to destroy the enemy.
- An enemy's strength is indicated by the color of its name bar.
- An enemy's type affects its particular characteristics: some foes can select two zones to attack, while others have a bonus to dodge chance, etc. Watch carefully how the battle is going against different enemy types – this will help you develop your own battle tactics.
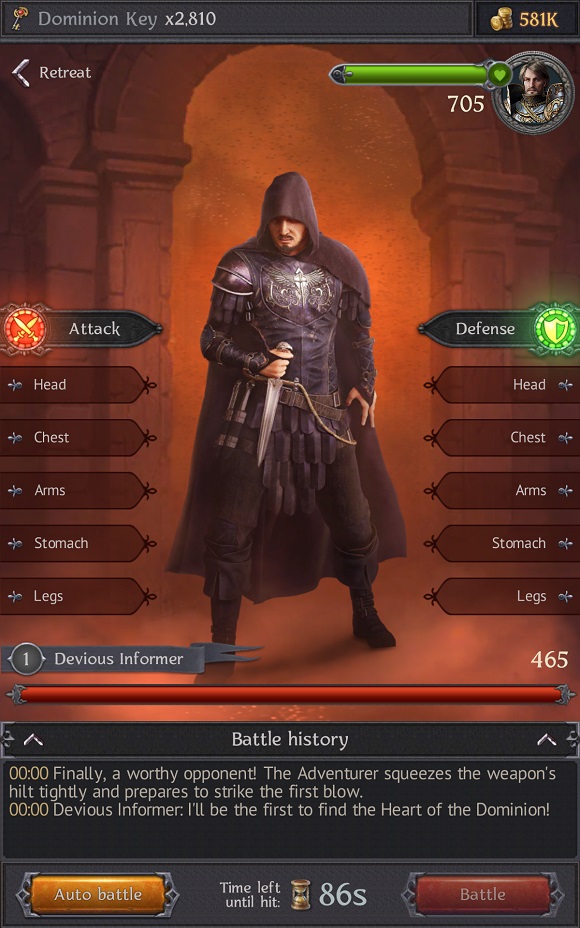
Battle
Once you've encountered an opponent, you can either fight or retreat. Please note: if you retreat, you leave the Ruins and your exploration progress for the building is lost.
Battles against the Marauders play out step by step. Both the Adventurer and their opponent have identical attack and defense zones: head, chest, arms, stomach, and legs. Each turn, you need to select both a zone to attack and a zone that you wish to defend.
The number of zones the Adventurer defends in one turn can be increased by equipment bonuses. For example, when you select the head, the chest can be automatically added; when you select the chest, the arms are added, etc. Some opponents can attack or defend several zones.
You can battle manually or in auto mode.
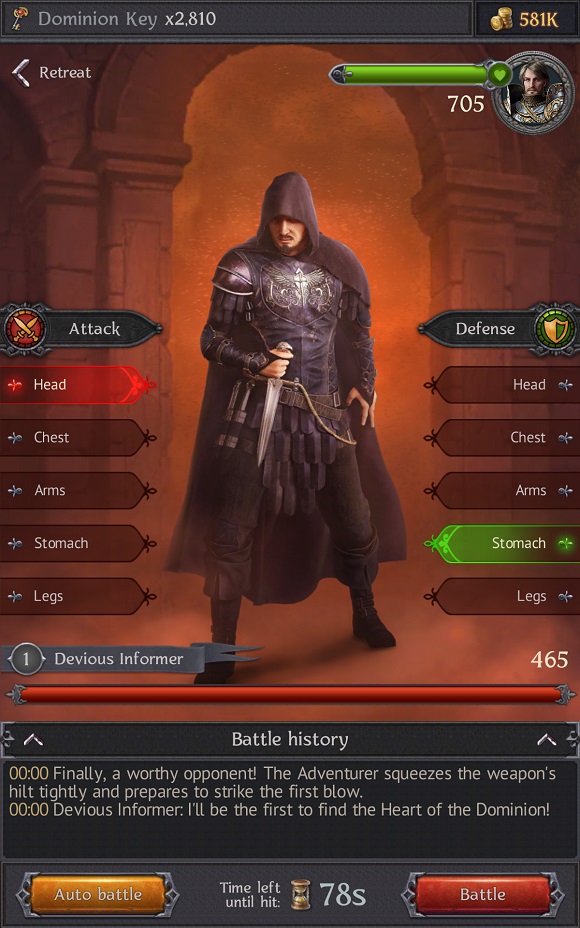
If you decide to fight manually, you need to select attack and defense zones. A certain amount of time is allotted for doing so. The selected attack zone is highlighted in red, and the selected defense zone is highlighted in green. You can change your choice as long as there is still time remaining.
If you select the desired zones but don't hit the "Battle" button before the timer expires, or don't make any choice at all, the Adventurer will miss a turn.
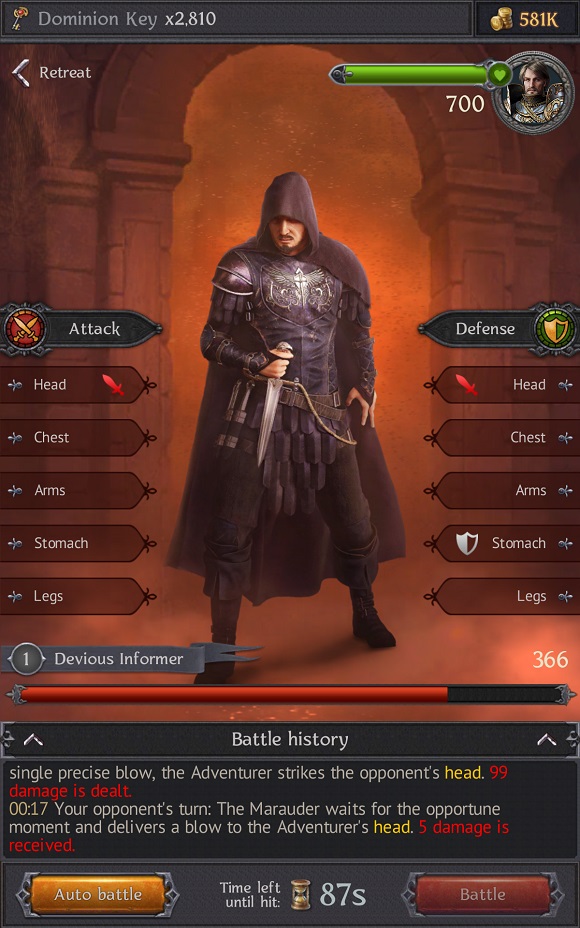
The actions that the Adventurer and their opponent performed during the previous turn will be shown by symbols on the attack and defense zones. This will help you better understand the opponent's tactics and organize your battle strategy in a more efficient way.
When using auto battle mode, the Adventurer automatically selects the zones for attack and defense.
The enemy's attack and defense zones are always selected automatically and randomly.
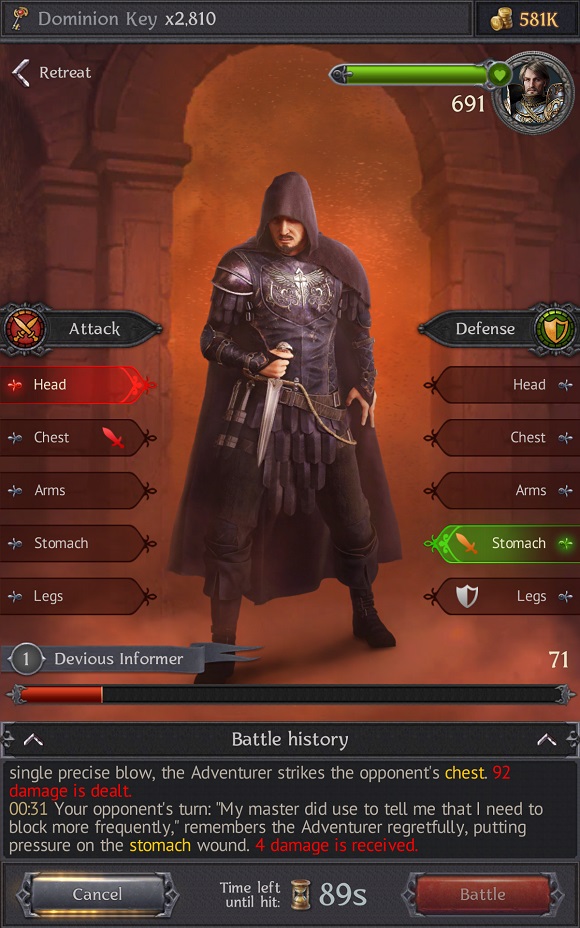
By default, auto battle is turned off, but if you activate this function, the game will remember your choice and all future battles in this building will be performed in auto mode until you switch it off. To do so, hit the "Cancel" button.
The outcome of each turn is described in detail in the Battle history panel. It describes all the actions performed by the Adventurer and their foe:
- Successful hits
- Successful critical hits
- Blocked hits
- Blocked critical hits
- Dodged hits
- Missed turns
If during the battle you quit the game or your connection is lost, your progress will be saved, and after returning to the building, you will continue the battle. Your previous battle history will be lost, however.
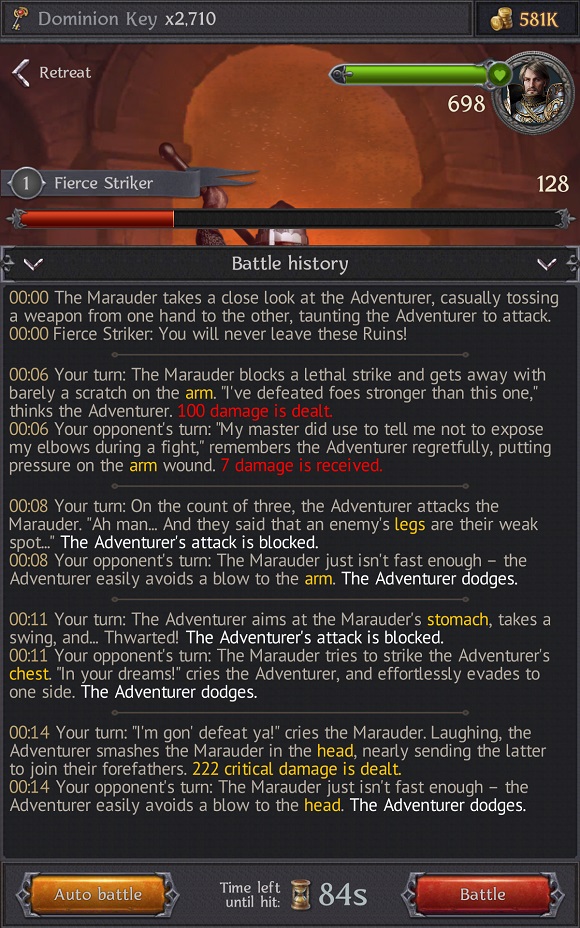
Every successful hit by the Adventurer reduces the enemy's health bar, and every successful attack by the enemy depletes the Adventurer's health. Damage and critical damage dealt are displayed for several seconds in red numbers and yellow numbers respectively.
If the enemy attacks two zones in one turn and both hits are successful, you will see two sets of damage numbers: one for each hit.
A critical hit on a protected zone still results in some damage being done.

The end of a battle
If your enemy's health points reach zero, this is counted as a victory for you, and you receive Adventurer's experience and various trophies as a reward.
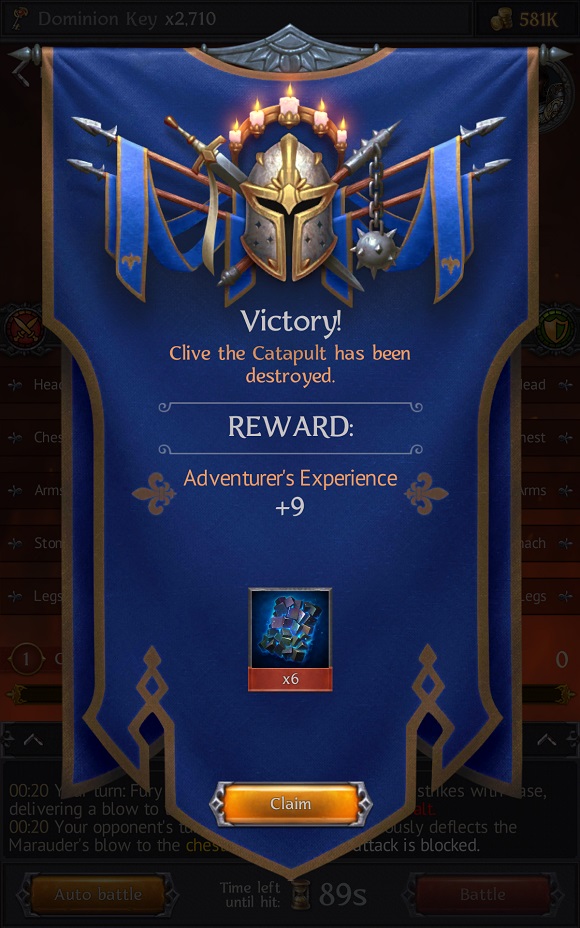
By gaining the required amount of experience, the Adventurer levels up.
Remember that you cannot distribute the Adventurer's stat points while the Adventurer is in the Ruins.
The Adventurer loses when their health points reach zero (even if this happens at the exact same moment when their opponent is defeated). In this case, you leave the Dominion Ruins, and all of your exploration progress for the building is lost.

If you defeat the Marauders' Leader, the building is regarded as explored and you get access to the next building. Remember, however, that three stars are awarded for destroying the Marauders' Leader, exploring all halls in the building, and saving 50% of the Adventurer's health in doing so.